HP LaserJet M403 Pro
Рейтинг


Модули
Детали Covers, M426 and M427

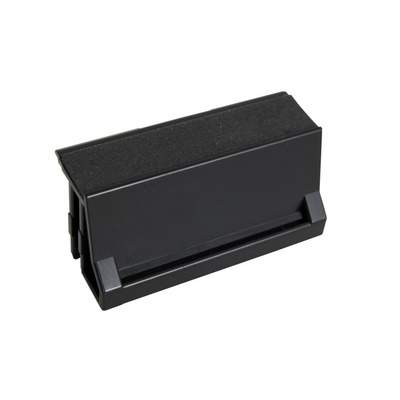
| Деталь: | SHEET, DAMPER |
| Парткод: | RC2-6075-000CN |
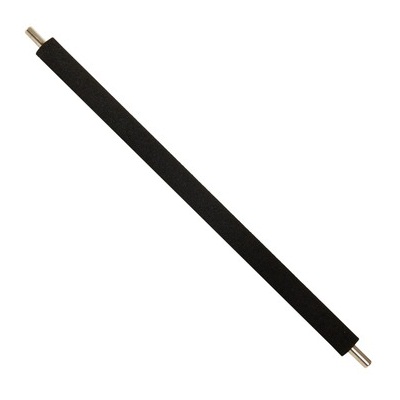
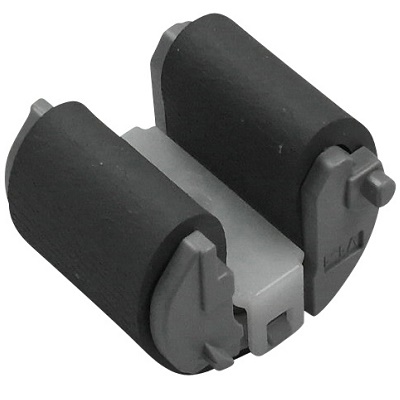
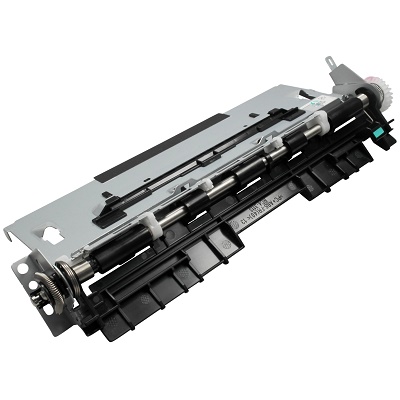
| Деталь: | SHAFT, SUPPORT |
| Парткод: | RC4-3002-000CN |
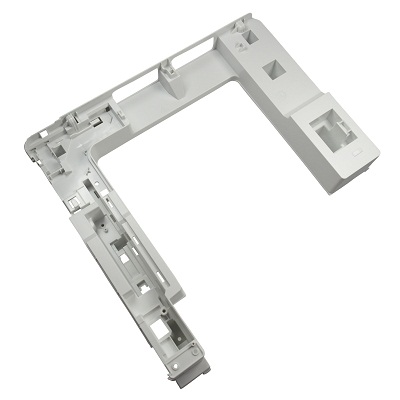
| Деталь: | Cover, cassette rear |
| Парткод: | RC4-3082-000CN |
| Цена: | 1 100 ₽ |
| Деталь: | Cover, top (M426/M427) |
| Парткод: | RC4-3207-000CN |
| Деталь: | Cover, left (M426/M427) |
| Парткод: | RL2-0674-000CN |
| Деталь: | GUIDE, CABLE |
| Парткод: | RC4-3217-000CN |
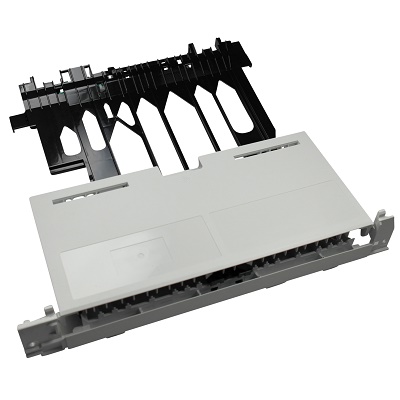
| Деталь: | TRAY, PAPER DELIVERY |
| Парткод: | RC4-3231-000CN |
| Деталь: | Cover, rear USB (M426 and M427) |
| Парткод: | RC4-3299-000CN |
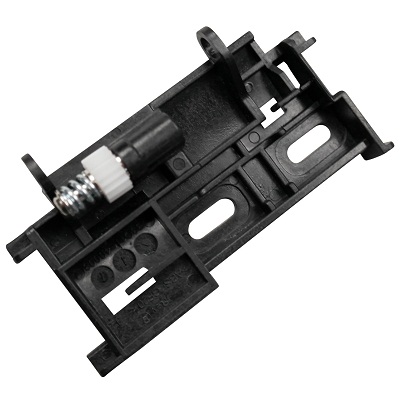
| Деталь: | LINK, PRESSURE RELEASE |
| Парткод: | RC4-4479-000CN |
| Деталь: | Door, rear (duplex models only) |
| Парткод: | RM2-5405-000CN |
| Цена: | 8 800 ₽ |
| Деталь: | Door, cartridge assembly (non-NFC models M426/M427) |
| Парткод: | RM2-5408-000CN |
| Деталь: | Door, cartridge assembly (NFC models M426/M427) |
| Парткод: | RM2-5435-000CN |
| Деталь: | Cover, right assembly |
| Парткод: | RM2-5434-000CN |
| Цена: | 3 200 ₽ |
| Деталь: | Name plate M427dw |
| Парткод: | C5F97-40001 |
| Деталь: | Name plate M427dn |
| Парткод: | C5F98-40004 |
| Деталь: | Name plate M427fdw |
| Парткод: | C5F99-40002 |
| Деталь: | Name plate M426dw |
| Парткод: | F6W13-40002 |
| Деталь: | Name plate M426fdn |
| Парткод: | F6W14-40002 |
| Деталь: | Name plate M426fdw |
| Парткод: | F6W15-40002 |
| Деталь: | Control panel (M426/M427) |
| Парткод: | B3Q10-60139 |
| Цена: | 5 300 ₽ |
| Деталь: | Control panel mount cover |
| Парткод: | B3Q11-40002 |
| Деталь: | Control panel mount base |
| Парткод: | B3Q11-40001 |
| Деталь: | Control panel mount chassis assembly |
| Парткод: | B3Q10-60145 |
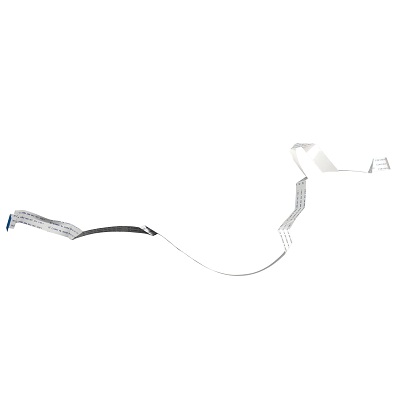
| Деталь: | Control panel 22-pin FFC |
| Парткод: | C5F98-60104 |
| Цена: | 1 100 ₽ |
| Деталь: | Cover, fax port (M426fdn |
| Парткод: | C5F99-40003 |
| Деталь: | HP logo jewel |
| Парткод: | 7121-8686 |