
HP LaserJet P3010 Series
Рейтинг


Модули
Internal assemblies 3
Internal assemblies 1
COVERS
Internal assemblies 6
500-sheet input tray (Tray 3 and Tray 4)
Internal assemblies 2
Internal assemblies 5
Internal assemblies 4
Детали 500-sheet input tray (Tray 3 and Tray 4)

| Деталь: | REGISTRATION ROLLER ASSEMBLY |
| Парткод: | RM1-6272-000CN |
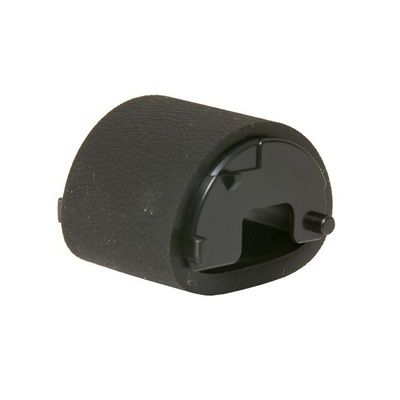
| Деталь: | Roller, multipurpose |
| Парткод: | RL1-2412-000CN |
| Цена: | 650 ₽ |

| Деталь: | Transfer lower guide assembly |
| Парткод: | RM1-6315-000CN |
| Цена: | 1 200 ₽ |

| Деталь: | CASSETTE |
| Парткод: | RM1-6279-000CN |

| Деталь: | Base plate roller assembly |
| Парткод: | RM1-6306-000CN |
| Цена: | 390 ₽ |
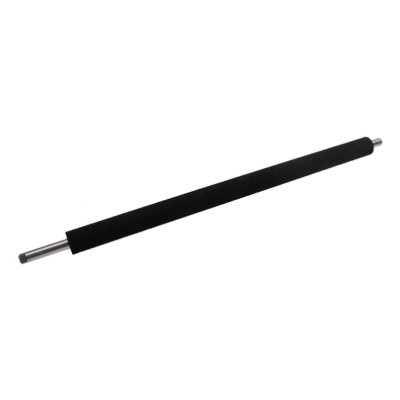
| Деталь: | ROLLER, TRANSFER |
| Парткод: | RM1-6321-000CN |
| Цена: | 2 000 ₽ |
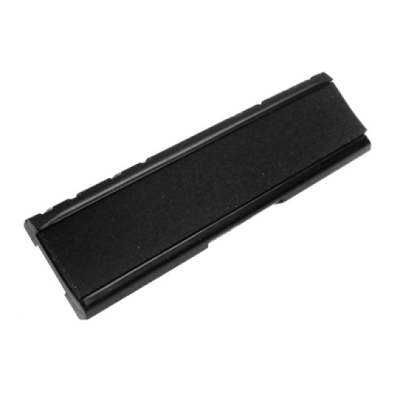
| Деталь: | Pad, multipurpose separation |
| Парткод: | RC2-8575-000CN |
| Цена: | 500 ₽ |
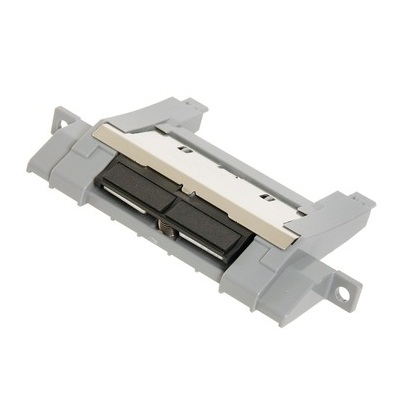
| Деталь: | Separation holder assembly |
| Парткод: | RM1-6303-000CN |
| Цена: | 800 ₽ |

| Деталь: | Tag holder assembly |
| Парткод: | RM1-6284-000CN |
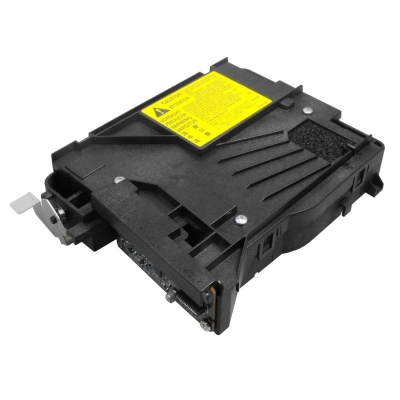
| Деталь: | Laser/scanner |
| Парткод: | RM1-6322-000CN |
| Цена: | 10 300 ₽ |
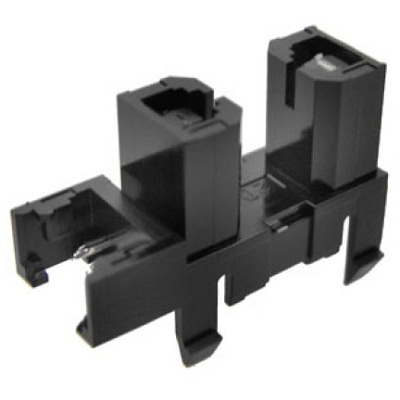
| Деталь: | PHOTO INTERRUPTER, TLP1243 |
| Парткод: | WG8-5696-000CN |
| Цена: | 350 ₽ |

| Деталь: | STOPPER, BUSHING ARM |
| Парткод: | RC2-7933-000CN |

| Деталь: | CABLE, FLAT |
| Парткод: | RK2-3103-000CN |

| Деталь: | COVER, RIGHT |
| Парткод: | RC2-7670-000CN |

| Деталь: | Cover, right-front |
| Парткод: | RC2-7672-000CN |

| Деталь: | Cover, right-rear |
| Парткод: | RC2-7673-000CN |
| Цена: | 1 300 ₽ |

| Деталь: | COVER, DIMM |
| Парткод: | RC2-7674-000CN |

| Деталь: | Cover, handle right |
| Парткод: | RC2-7675-000CN |
| Цена: | 1 800 ₽ |

| Деталь: | Cover, upper-right (top-right) duplex models |
| Парткод: | RC2-7676-000CN |

| Деталь: | Cover, upper-right (top-right) simplex models |
| Парткод: | RC2-7707-000CN |

| Деталь: | Cover, formatter |
| Парткод: | RC2-7688-000CN |

| Деталь: | Cover, upper-right (top-right) sub duplex models |
| Парткод: | RC2-7677-000CN |

| Деталь: | Cartridge-door assembly |
| Парткод: | RM1-6264-000CN |

| Деталь: | Cover, multipurpose assembly |
| Парткод: | RM1-6265-000CN |
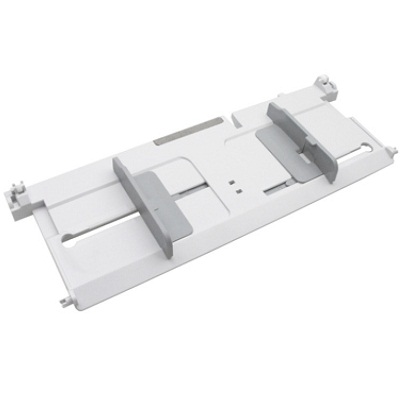
| Деталь: | Multipurpose lifting plate assembly |
| Парткод: | RM1-6266-000CN |

| Деталь: | Cover, top assembly |
| Парткод: | RM1-6289-000CN |

| Деталь: | COVER, LEFT |
| Парткод: | RM1-6291-000CN |

| Деталь: | Cover, rear assembly |
| Парткод: | RM1-6292-000CN |

| Деталь: | Control panel duplex models |
| Парткод: | RM1-6518-000CN |

| Деталь: | Control panel duplex models |
| Парткод: | RM1-6519-000CN |

| Деталь: | Tray sensor PCA |
| Парткод: | RM1-6487-000CN |

| Деталь: | Fuser motor assembly |
| Парткод: | RM1-6296-000CN |
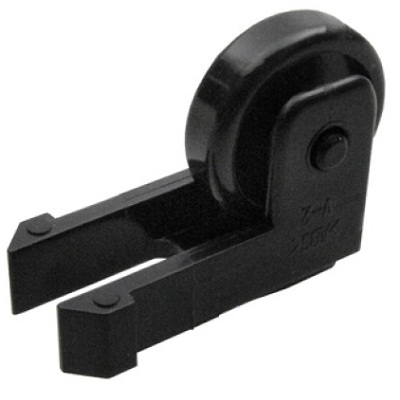
| Деталь: | PAPER DELIVERY ROLLER ASSEMBLY |
| Парткод: | RM1-6301-000CN |
| Цена: | 320 ₽ |
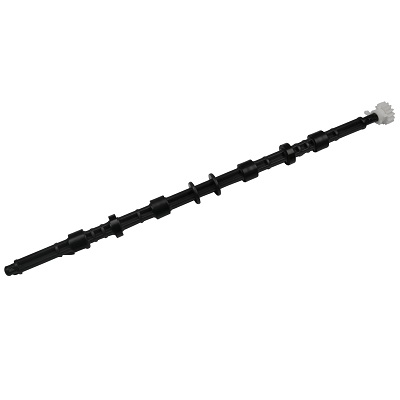
| Деталь: | Face-down roller assembly |
| Парткод: | RM1-6311-000CN |
| Цена: | 700 ₽ |

| Деталь: | PHOTO INTERRUPTER, TLP1243 |
| Парткод: | WG8-5696-000CN |
| Цена: | 350 ₽ |

| Деталь: | Optional 500-sheet tray and feeder unit |
| Парткод: | CE530-69001 |

| Деталь: | Base plate roller assembly |
| Парткод: | RM1-6306-000CN |
| Цена: | 390 ₽ |

| Деталь: | CASSETTE |
| Парткод: | RM1-6279-000CN |

| Деталь: | Pickup roller set, cassette |
| Парткод: | RM1-6313-000CN |

| Деталь: | Separation holder assembly |
| Парткод: | RM1-6303-000CN |
| Цена: | 800 ₽ |
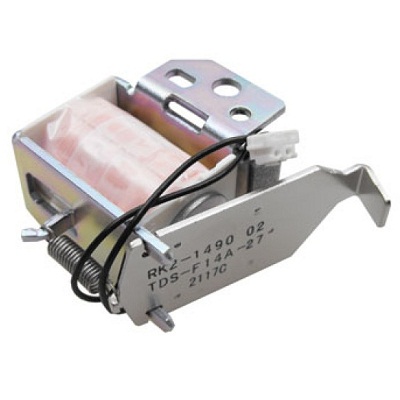
| Деталь: | Tray 1 solenoid |
| Парткод: | RK2-1490-000CN |
| Цена: | 550 ₽ |
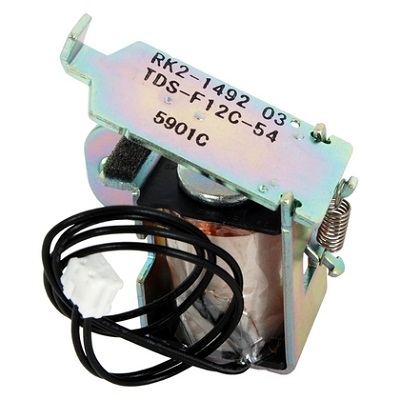
| Деталь: | Tray 2 solenoid |
| Парткод: | RK2-1492-000CN |
| Цена: | 190 ₽ |
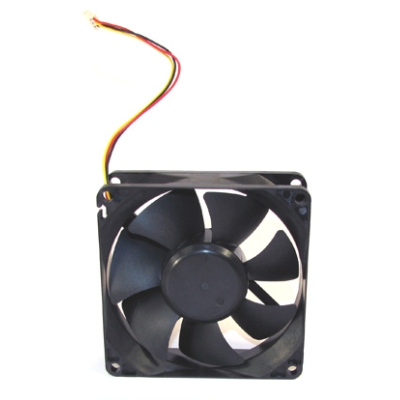
| Деталь: | Fan, main |
| Парткод: | RK2-1497-000CN |
| Цена: | 750 ₽ |

| Деталь: | Cassette, paper pickup assembly duplex models |
| Парткод: | RM1-6268-000CN |

| Деталь: | Cassette, paper pickup assembly simplex models |
| Парткод: | RM1-6299-000CN |

| Деталь: | Idler roller assembly |
| Парткод: | RM1-6271-000CN |

| Деталь: | Multipurpose sensor PCA |
| Парткод: | RM1-6510-000CN |

| Деталь: | Fuser assembly 110V |
| Парткод: | RM1-6274-000CN |

| Деталь: | Fuser assembly 220V |
| Парткод: | RM1-6319-000CN |

| Деталь: | Engine controller PCA 110V |
| Парткод: | RM1-6281-000CN |

| Деталь: | Engine controller PCA 220V |
| Парткод: | RM1-6318-000CN |

| Деталь: | Front USB PCA |
| Парткод: | RM1-6514-000CN |

| Деталь: | MICROSWITCH |
| Парткод: | WC4-5171-000CN |

| Деталь: | Environmental sensor assembly |
| Парткод: | RM1-6515-000CN |

| Деталь: | Cassette pickup roller |
| Парткод: | RM1-6313-000CN |

| Деталь: | CABLE, FLAT |
| Парткод: | RK2-2788-000CN |
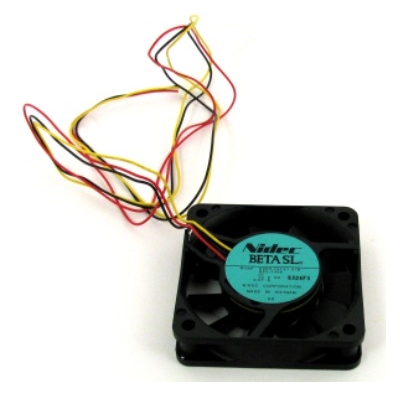
| Деталь: | FAN, SUB |
| Парткод: | RK2-1499-000CN |
| Цена: | 1 800 ₽ |
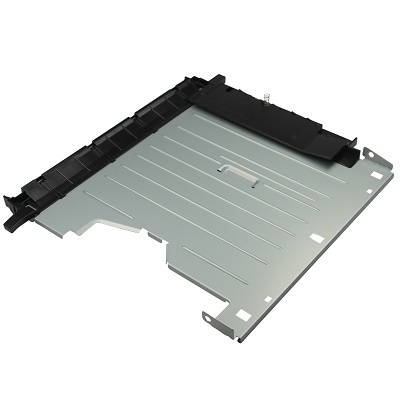
| Деталь: | Lower paper feed guide duplex models |
| Парткод: | RM1-6263-000CN |
| Цена: | 750 ₽ |

| Деталь: | PAPER FEED GUIDE ASSEMBLY |
| Парткод: | RM1-6270-000CN |
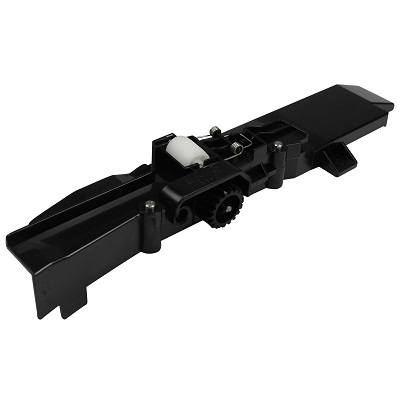
| Деталь: | Position-guide assembly duplex models |
| Парткод: | RM1-6273-000CN |
| Цена: | 650 ₽ |

| Деталь: | High-voltage power supply duplex models |
| Парткод: | RM1-6280-000CN |

| Деталь: | High-voltage power supply simplex models |
| Парткод: | RM1-6300-000CN |

| Деталь: | Top sensor PCA |
| Парткод: | RM1-6511-000CN |

| Деталь: | Paper width sensor PCA |
| Парткод: | RM1-6512-000CN |

| Деталь: | Switch assembly, power |
| Парткод: | RM1-6283-000CN |

| Деталь: | CABLE, FLAT |
| Парткод: | RK2-3101-000CN |
Коды ошибок
10.10.00
10.91.00
10.XX.YY
11.XX
13.JJ.NT
21
22
40
41.3
41.X
49.XXXX
50.X
51.XY
52.XY
53.X0.01
55.XX.YY
56.X
57.XX
58.XX
59.XY
68.X
69.X
79.XXXX
8X.YYYY
Описание
| Error code: | 10.10.00 |
| Display: | 10.10.00 SUPPLY MEMORY ERROR |
| Description: | The product has experienced a print cartridge error. |
| Remedy: | 1. Ensure that the cartridge is a genuine HP print cartridge. 2. Verify the connector at J74 on the DC controller PCA is securely connected. 3. Replace the print cartridge. |
| Error code: | 10.91.00 |
| Display: | 10.91.00 CARTRIDGE ERROR |
| Description: | An error has occurred in the cartridge |
| Remedy: | 1. Open the cartridge door. 2. Remove the print cartridge, and then reinstall it. 3. Close the cartridge door. 4. Turn the product off and then on. 5. Verify that a genuine HP print cartridge is installed in the product. 6. Install another print cartridge. 7. Verify that the memory tag PCA is installed in the product. 8. Verify that the memory tag connector is firmly seated in connector J1703 on the ECU. You might have to remove the main cooling fan to see this connection. |
| Error code: | 10.XX.YY |
| Display: | 10.XX.YY SUPPLY MEMORY ERROR |
| Description: | An error has occurred in one or more of the product`s supplies. Values of XX and YY are listed below: XX00 = memory is defective XX01 = memory is missing YY00 = cartridge |
| Remedy: | • Turn the product off and then on to clear the message. • Replace the print cartridge. |
| Error code: | 11.XX |
| Display: | 11.XX INTERNAL CLOCK ERROR |
| Description: | The real time clock has experienced an error. |
| Remedy: | 1. Power cycle the product to see if the message clears. 2. If possible, print a configuration page to record product information, and then perform an NVRAM initialization routine. If the initialization routine is successful, you will need to re-enter several configuration parameters (such as the page count and the serial number). 3. If the error persists, replace the formatter PCA. |
| Error code: | 13.JJ.NT |
| Display: | 13.JJ.NT PAPER JAM OPEN INPUT TRAYS |
| Description: | A jam has occurred in an input tray. |
| Remedy: | 1. Open the top cover. 2. Remove the print cartridge and any paper. 3. Reinstall the print cartridge and close the top cover. 4. Close all trays. |
| Error code: | 21 |
| Description: | The bar code printed on a label does not scan. |
| Causes: | The bar code is not within specifications because the print is too light or too dark. Not enough blank space around the bar code. |
| Remedy: | Perform the FEED Self Test on page 120. Adjust the darkness or print speed settings as necessary. Leave at least 1/8 in. (3.2 mm) between the bar code and other printed areas on the label and between the bar code and the edge of the label. |
| Error code: | 22 |
| Description: | Loss of printing registration on labels. Excessive vertical drift in top-of-form registration. |
| Causes: | The platen roller is dirty. Media guides are positioned improperly. The media type is set incorrectly. The media is loaded incorrectly. |
| Remedy: | Clean the platen roller according to the instructions in Clean the Printhead and Platen Roller on page 131. Ensure that the media guides are properly positioned. Set the printer for the correct media type (gap/notch, continuous, or mark). See Set Media Type on page 81. Load media correctly. See Load Media on page 58. |
| Error code: | 40 |
| Display: | Scanner locked |
| Description: | 10-348 ERROR 40 FUSER MAIN LAMP FAILURE Note If this failure reoccurs three times successively, an Engine NVRAM value is set preventing further printer use until the Clear Tech Rep Fault, Clear <10-348 & 10-350> is run. |
| Causes: | 1. Deformed paper sensor actuator or faulty sensor. 2. SMPS PBA or Main PBA is defective 3. Faulty cables or connectors. |
| Remedy: | Switch printer power OFF. Remove the Fuser Assembly. Warning Fuser may be very hot. Use extreme caution to prevent burns. Measure the resistance between the Fuser Assembly connector P600-4 and P600-6. Does the resistance measure between 20K and 100K ohms? Y↓N→ Replace the Fuser Assembly. Reinstall Fuser. Remove the Rear Cover, Rear Shield and the Rear Shield Bracket. Measure the resistance between P404A-1 and P404A-2 on the Engine Control Board. Does the resistance measure between 20K and 100K ohms? Y↓N→ Repair or replace the wiring harness between the Engine Control Board and the Fuser. Replace the Engine Control Board. |
| Error code: | 41.3 |
| Display: | 41.3 UNEXPECTED SIZE IN TRAY <X> |
| Description: | You have configured the tray for a different size of paper than the print job requires. NOTE: This error can be caused by a multi feed problem. Open, and then close, the cartridge door to clear the error message. If the error persists, and the tray is correctly configured, try cleaning the Tray 1 pickup roller (or you might have to replace the roller). |
| Remedy: | 1. Reload the tray with the correct paper size. 2. Make sure the paper size that is specified in the software program, the printer driver, and the control panel are all the same. 3. Press the OK button and scroll to the TRAY <X> SIZE = <Size> option. Reconfigure the size in a tray to match the size required for the print job. 4. If the error does not clear, turn the product off and then on. 5. If the message persists, contact an HPauthorized service or support provider. |
| Error code: | 41.X |
| Display: | 41.X ERROR |
| Description: | A temporary printing error occurred. |
| Remedy: | 1. Press OK to see if the page will print. If necessary, turn the product off and then on. 2. Verify that the loaded paper meets HP specifications. If pages stick together, the paper detect sensors will detect a sheet of paper longer than what is expected in the product. 3. Verify that all paper size settings on the control panel, in the print driver settings, and in the software program match. 4. Verify that the correct size paper is loaded in the input tray. |
| Error code: | 49.XXXX |
| Display: | 49.XXXX ERROR |
| Description: | A critical firmware error has occurred that caused the processor on the formatter to cease operation. This error can be caused by invalid print commands, corrupt data, or invalid operations. In some cases, electrical “noise” in the cable can corrupt data during transmission to the product. Other causes can be poor-quality cables, poor connections, or home-grown programs. On rare occasions, the formatter is at fault. |
| Remedy: | 1. Turn off the product, and then turn it on. 2. Press Stop to clear the print job from the product memory. 3. Turn off the product, and then turn it on. 4. Print a document from a different software program. If the job prints, return to the first program and try to print a different file. If the message appears only with a certain software program or print job, contact the software program vendor for assistance. 5. If the message persists with different software programs and print jobs, disconnect all of the cables to the product that connect it to the network or computer. 6. Turn off the product. 7. Remove all EIO devices from the product. 8. Turn on the product. 9. If the error no longer exists, replace each EIO device one at a time, making sure to turn the product off and on again as you install each device. 10. Replace an EIO device if you determine that it causes the error. |
| Error code: | 50.X |
| Display: | 50.X Fuser Error |
| Description: | The product has an internal hardware error. |
| Remedy: | 1. Press the power button to turn the product off.2. If a surge protector is in use, remove it. Connect the power cord directly into a wall outlet.3. Wait at least 25 minutes, turn the product on, and then wait for the product to initialize.4. If the error persists, reconnect J101 and J552 on the engine controller PCA.5. If the error persists, check the power source. Make sure that the power source meets the minimum system requirements (40Hz to 70Hz).6. If the error persists, replace the fuser.7. If the error persists, replace the engine controller PCA. |
| Error code: | 51.XY |
| Display: | 51.XY ERROR |
| Description: | A laser/scanner error has occurred. |
| Remedy: | 1. From the DIAGNOSTICS menu, run the laser/scanner motor component test. Verify that you can hear motor rotate. 2. If you cannot hear the motor rotate, verify that the connections to connector J86 and connector J93 on the DC controller PCA are firmly seated. 3. Verify that the wiring harness at the laser/scanner assembly is securely attached. 4. If the error persists, replace the laser/ scanner assembly. |
| Error code: | 52.XY |
| Display: | 52.XY ERROR |
| Description: | A laser/scanner error has occurred. X = 0, Y = 0: scanner error X = 2, Y = 0: scanner rotation error |
| Remedy: | 1. From the DIAGNOSTICS menu, run the laser/scanner motor component test. Verify that you can hear the motor rotate. 2. If you cannot hear the motor rotate, verify that connector J1702 and J1505 are fully seated on the DC controller PCA (ECU). 3. Verify that the connector J12 on the laser/scanner assembly is securely attached. 4. If the error persists, replace the laser/ scanner assembly. |
| Error code: | 53.X0.01 |
| Display: | 53.X0.01 ERROR |
| Description: | The product does not support the DIMM. |
| Remedy: | Replace the DIMM with one that the product supports |
| Error code: | 55.XX.YY |
| Display: | 55.XX.YY DC CONTROLLER ERROR |
| Description: | A temporary printing error occurred. |
| Remedy: | 1. Turn the product off and then on. 2. Remove any third-party memory or USB device, and then turn the product off and then on. 3. Remove and then reinstall the formatter. 4. If the error persists, remove the formatter and perform an engine test. If the engine test page fails to print, replace the DC controller. If the engine test page prints, replace the formatter. |
| Error code: | 56.X |
| Display: | 56.X ERROR |
| Description: | The input device is unknown. 56.1 = unknown input device |
| Remedy: | 1. Turn the product off and then on. 2. Reinstall all the input devices. 3. Remove all non-HP paper handling devices |
| Error code: | 57.XX |
| Display: | 57.XX ERROR |
| Description: | A temporary printing error occurred in one of the two product fans (main fan FM1 or sub fan FM2). 57.03: sub fan FM2 error 57.04: main fan FM1 error |
| Remedy: | 1. Turn the product off and then on. 2. Verify that the main fan connection at connector J1606 on the DC controller PCA (ECU) is firmly seated. 3. Verify that the sub fan connection at connector J1505 on the DC controller PCA (ECU) is firmly seated. 4. Turn the printer on and verify each fan is spinning. 5. Replace the main fan or the sub fan if they are not operational. |
| Error code: | 58.XX |
| Display: | 58.XX ERROR |
| Description: | The product has experienced an error with the low voltage power supply. • 58.04 = Low voltage power supply malfunction |
| Remedy: | 1. Reset the printer:a. Turn off the power by using the power switch, and then wait at least 30 seconds.b. Turn on the power and wait for the product to initialize.2. If you are using a surge protector:a. Power off the printer.b. Remove the surge protector.c. Plug the product directly into the wall socket and turn the product power on. 3. Check the voltage label on the back of the product. If the product is rated 220V and is plugged into a 110V outlet, this error might occur. In most cases, no damage is caused to the product. If a power transformer is used to convert 220V power to 110V, verify that the transformer power rating is sufficient to operate the product.4. If the error persists, replace the Low Voltage Power Supply PCB Assembly: L.V.POWER SUPPLY PCB ASS`Y (110–127V) RM2–0840–000CN L.V.POWER SUPPLY PCB ASS`Y (220–240V) CHINA ONLY RM2-0842–000CN L.V.POWER SUPPLY PCB ASS`Y (220–240V) EXCEPT CHINA RM2-0841–000CN5. If the error persists, replace the product. |
| Error code: | 59.XY |
| Display: | 59.XY ERROR |
| Description: | A temporary printing error occurred. |
| Remedy: | 1. Inspect the DC controller PCA and verify that the following connectors are firmly seated: • Drum motor (M102) to connector J87 • Feed motor (M101) to connector J91 • Fusing motor (M299) to connector J89 NOTE: There is a cable between the drum motor and the DC controller. Both ends of the cable need to be firmly seated. 2. If the error persists, from the DIAGNOSTICS menu, run the component tests for each motor to verify that they are operating. If any of the motors is not operating, replace the motor. |
| Error code: | 68.X |
| Display: | 68.X STORAGE ERROR SETTINGS CHANGED |
| Description: | An error occurred in the product permanent storage and one or more product settings has been reset to its factory default. |
| Remedy: | Press OK to resume printing. Print a configuration page and check the product settings to determine which values have changed. If the error does not clear, turn the product off and then on. If the message persists, contact an HP-authorized service or support provider. |
| Error code: | 69.X |
| Display: | 69.X ERROR |
| Description: | A printing error occurred. |
| Remedy: | • Turn the product off and then on. • If the message persists, contact an HPauthorized service or support provider. |
| Error code: | 79.XXXX |
| Display: | 79.XXXX ERROR |
| Description: | The product detected a critical hardware error. |
| Remedy: | • Press the stop button to clear the print job from the product memory. Turn the product off and then on. • Try printing a job from a different program. If the job prints, go back to the first program and try printing a different file. If the message appears only with a certain program or print job, contact the software vendor for assistance. If the message persists with different programs and print jobs, try these steps. • Turn the product off. • Disconnect all cables to the product that connect it to the network or computer. • Remove all the memory DIMMs or thirdparty DIMMs from the product. Then reinstall the memory DIMM. • Remove the EIO device from the product. • Turn the product on. If the error no longer exists, follow these steps. • Install the DIMM and EIO device one at a time, making sure to turn the product off and then on as you install each device. • Replace the DIMM or EIO device if you determine that it causes the error. • Reconnect all cables that connect the product to the network or computer. |
| Error code: | 8X.YYYY |
| Display: | 8X.YYYY EMBEDDED JETDIRECT ERROR |
| Description: | The embedded HP Jetdirect print server has encountered a critical error. |
| Remedy: | • Turn the product off and then on. • If the message persists, contact an HPauthorized service or support provider. |
